
Showing posts with label Sculpture. Show all posts
Showing posts with label Sculpture. Show all posts
Tuesday, February 24, 2015
Thanks Lars!
Done!


Building a space traveler.


Yellow star.


Revisiting black star.
No new posts in a long time. So I better recapitulate some parts of the process.


Sunday, March 23, 2014
Framework.

I'm making a frame out of 12 mm beech plywood. It will make the mold sturdier and it won't flex when we start to pack the concrete.

Fixing the frame to the cured fiberglass mold using epoxy mixed with filler, then reinforcing on both sides with strips of fiberglass and epoxi resin.

Tuesday, March 18, 2014
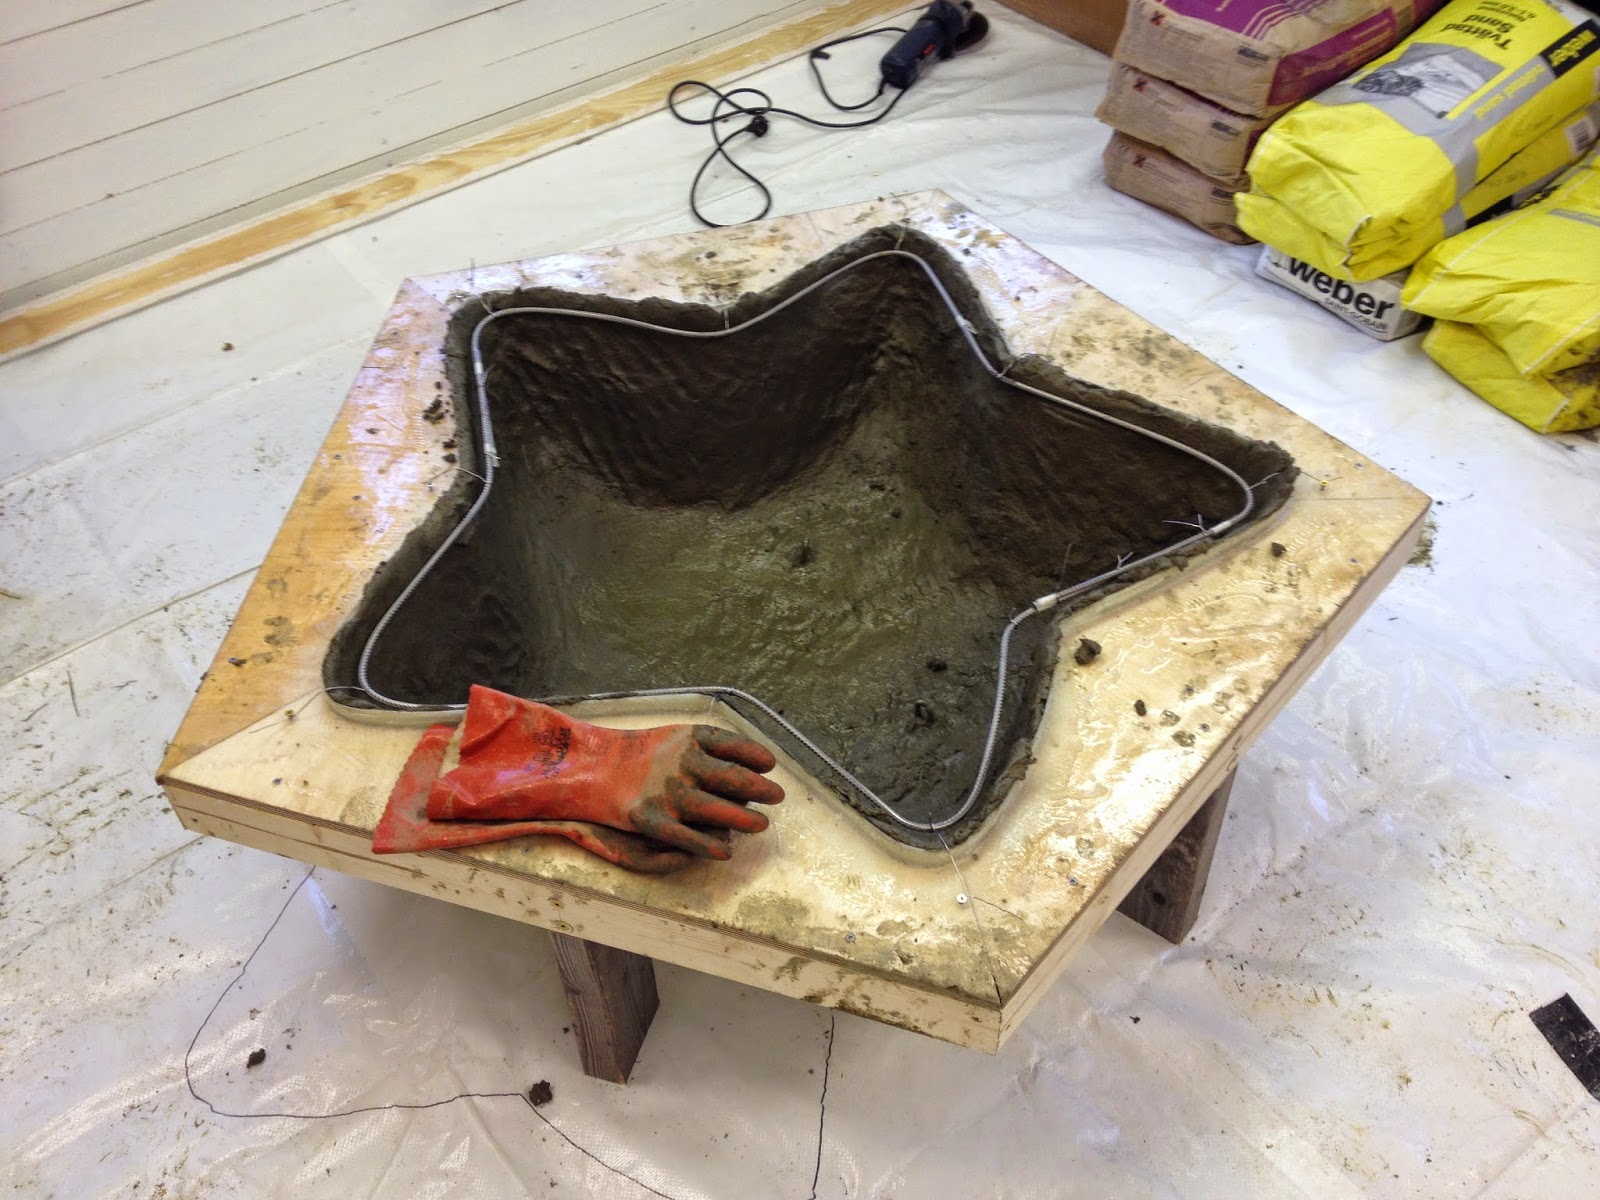
Preparing the mold.


This is the almost finished mould. To do now is some sanding and building a frame attached to the mold. The frame will make the mold more rigid which is necessary when working with concrete. The finished stars will be heavy, about, 75 kg and it will probably take some force to get the finished casts out of the mold so it must be strong.
Laminating.


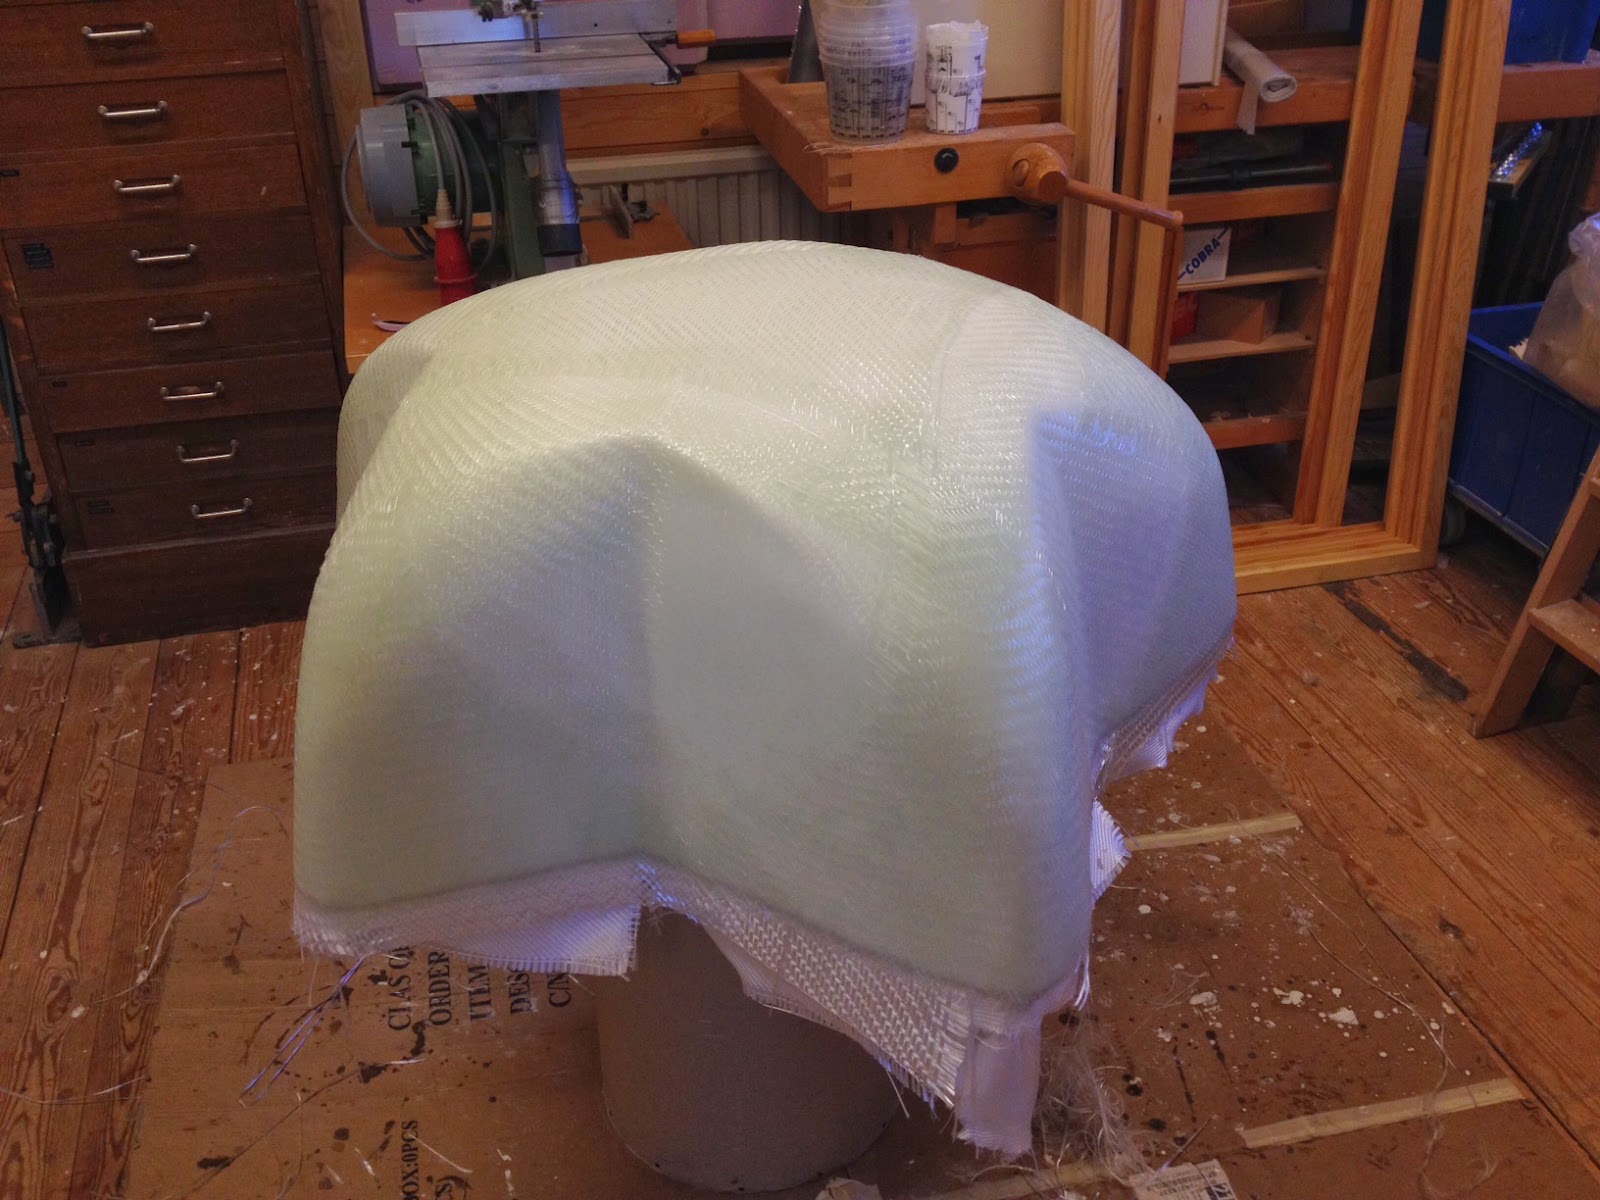
We laminated a total of three layers. The second layer was 390 g/m2 and the third and last was a rowing, 580 g/m2. Now the mould will cure for seven days.
Preparing for laminating.

After a lot of sanding i covered the whole star with epoxy resin. Two coats. After curing sanding with coarse to finer grit ending at 400 wetsanding paper. I expect to get a silk smooth matte surface.

When I was satisfied with the surface I applied a film building release agent, Marbocote 227. Then I brushed on two coats of white gelcoat.
Thursday, February 20, 2014
Filler and sanding.

Sanding the filler to smooth out the surface. It's a tricky job that requires a light touch because the foam material is so soft.

After sanding I covered the whole star with shellac to provide a harder surface for further filler and sanding. The process of filling and sanding takes time but I'm still waiting for the material for the mould so I'm not really in a hurry right now.
Monday, February 10, 2014
Adding material.


After sanding I added a layer of filler. It will probably take a couple of days for it to dry. After sanding I will add more filler until I get a smooth surface.
Sunday, February 9, 2014
Knifework.

Using foam insulation, the same material I used for the Stars project, I have started to shape the star with a saw and our kitchen knife. The yellow parts is construction foam, polyurethane, I added where I removed too much material. Next step is sanding and filling gaps with wall putty. After sanding with fine grit the star will receive a couple of layers of acrylic paint to get a smooth surface before laminating the mould with fiber glass and epoxi resin.
New commission.

Last week I got a new commission, a sculpture group for a daycare center Myresjö daycare center in Vetlanda. I think it´s great to work on another project for kids.
The sculpture will consist of four parts. Three stars cast in concrete coloured with three different pigments. On top of one of the stars I will place a little figure made of metal, painted silver. Inspiration comes once again from Japanese origami Lucky Stars and for the figure japanese pepekura figures.
The model shown is scaled 1:10. Each star will be about 90 cm in diameter and approximately 30 cm in height. Total hight of the black star and figure will be about 85 cm.
Working title is Stjärnungen, Star Kid in english.
Friday, January 3, 2014
Project for daycare center in Myresjö and Korsberga.

I have just spent a couple of weeks on a project for Vetlanda municipality. Two sculptures for two daycare centers. I continued to work on my star theme. This time in smaller scale combined with small sculptures/figures made out of sheet metal. Inspiration from Japanese origami and Pepakura. After intense work the nights before deadline I got these two models ready. The scale is 1:10.
Wednesday, December 11, 2013
Vabbit.


What's happening in the studio? Jump starting an unexpected new project. This is exciting. I'll post the outcome in a couple of weeks.
Friday, January 20, 2012
Done!
 |
| Stars look beautiful in the frost. |
Almost there.
 |
| Only one more to fasten to the wall. |
Monday, January 16, 2012
Casting
 |
| Adding pigment to the resin, here I'm using Viridian. |
 |
| After mixing, I pour the resin in to the mould... |
 |
| ...and wait for 6 - 12 hours for the resin to cure. |
Tuesday, January 10, 2012
Smallstars.
I'm sculpting small stars from foam and making forms of plaster and an inner form of silicon. Unfortunaly the silicone don't seem to cure as it should. I'll give it another day, if it hasn't cured by tomorrow morning I'll start all over again :).
 |
| I've made two stars out of wood. |

 |
| These are the moulds I will use to cast the epoxy resin in. |
Monday, November 14, 2011

Subscribe to:
Posts (Atom)


